
Demandbase - Integration
Qualified offers an integration with Demandbase that allows you to connect with your target accounts right on your website. Using Demandbases’s reverse IP lookup, you can quickly alert your sales team to target accounts on your website, create specific custom experiences for those visitors, and gather more information about what those visitors are looking for on your site.
- Connecting to Demandbase
- Setting Up Your Demandbase Field Layout
- Populate Visitor Fields with Demandbase data
<span id="connecting-demandbase"></span>
Connecting to Demandbase
When you connect to Demandbase, you will use the Demandbase API to access your target accounts and pull in information about the visitors on your site based on their IP address.
To connect to Demandbase, follow the steps below:
- Locate your Demandbase server-side API key in your Demandbase account. If you need assistance to locate it, contact your Demandbase customer success manager or Demandbase support team.
- In Qualified, go to Settings → Integrations → Demandbase → Connection.
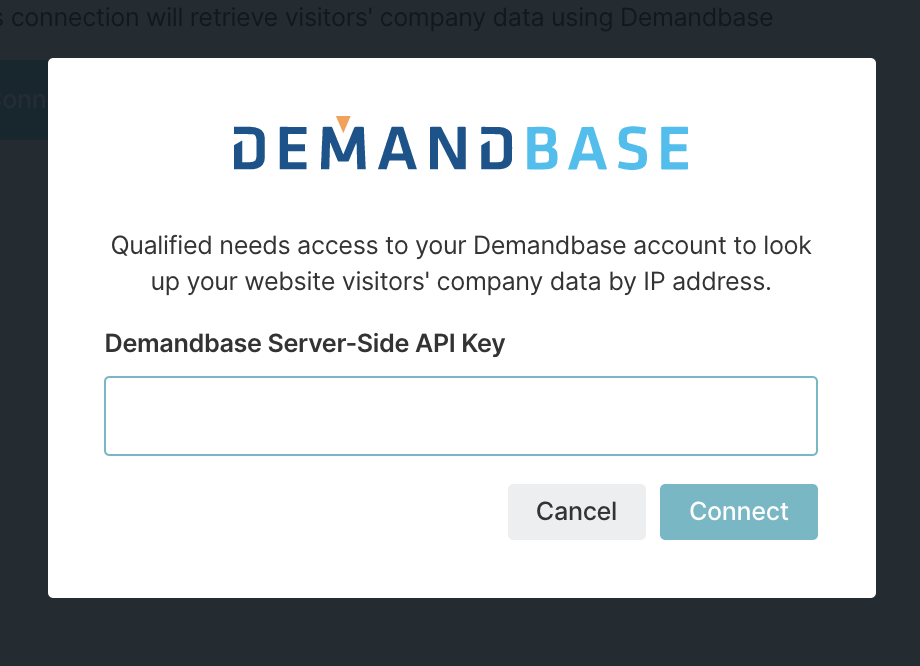
- Click Connect to Demandbase.
- Enter the Demandbase server-side API Key from Step 1.
- Click Connect.
Once here, you’ll want to press to connect and input your Demandbase server-side API key. In order to get the server-side specific API you’ll need to contact your Demandbase customer success manager or the Demandbase support team.
<span id="field-layout"></span>
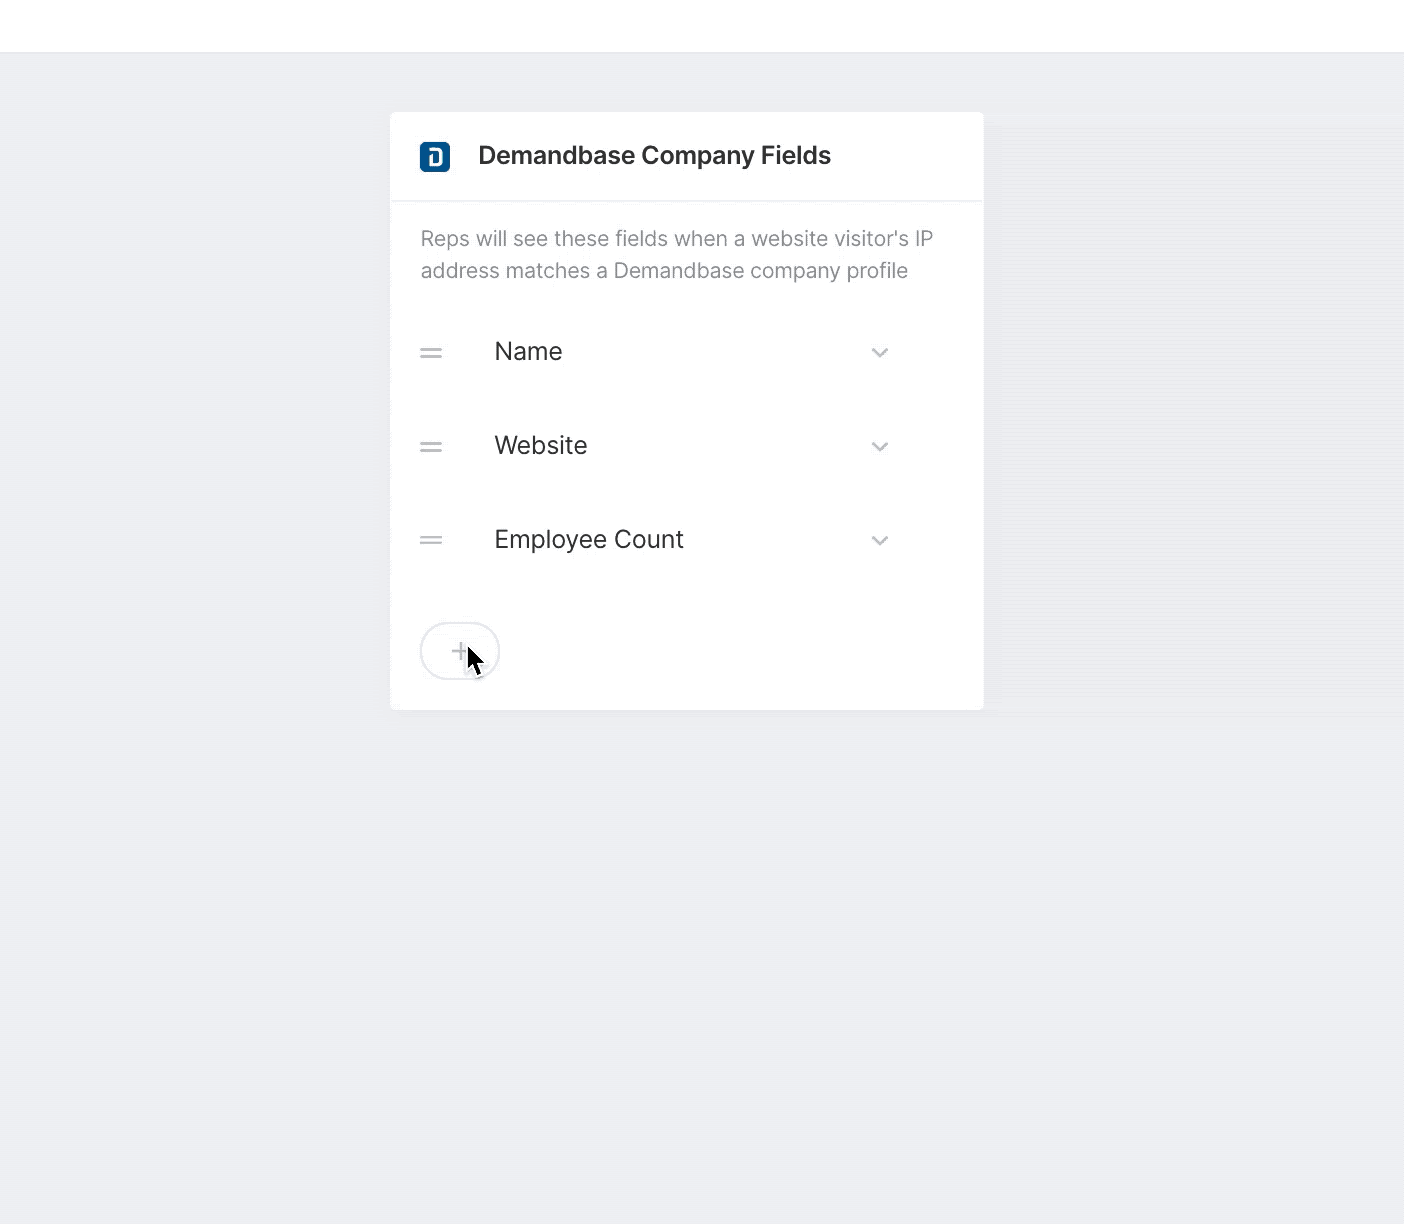
Setting Up Your Demandbase Field Layout
The Demandbase field layout will show on the right-hand side of the Qualified app when your sales reps are interacting or looking at a visitor on your site. You can add or remove fields depending on what’s most important to your sales reps by going to Settings → Integrations → Demandbase → Field Layout.
Keep in mind that any custom fields added in your Demandbase account will not be available within Qualified.
<span id="visitor-fields"></span>
Populate Visitor Fields with Demandbase Data
Finally, add Demandbase information to your visitor fields to save on the visitor record. Visitor fields are the fields in Qualified where you will store everything you wish to track and know about your website visitors.
Visitor fields contain information you might gather through chatting or talking to a lead directly, the information they might have given you explicitly through a lead form or chatbot or other info that might be pulled from an external system, like 6sense.
- Navigate to Settings → App Settings → Visitor Fields.
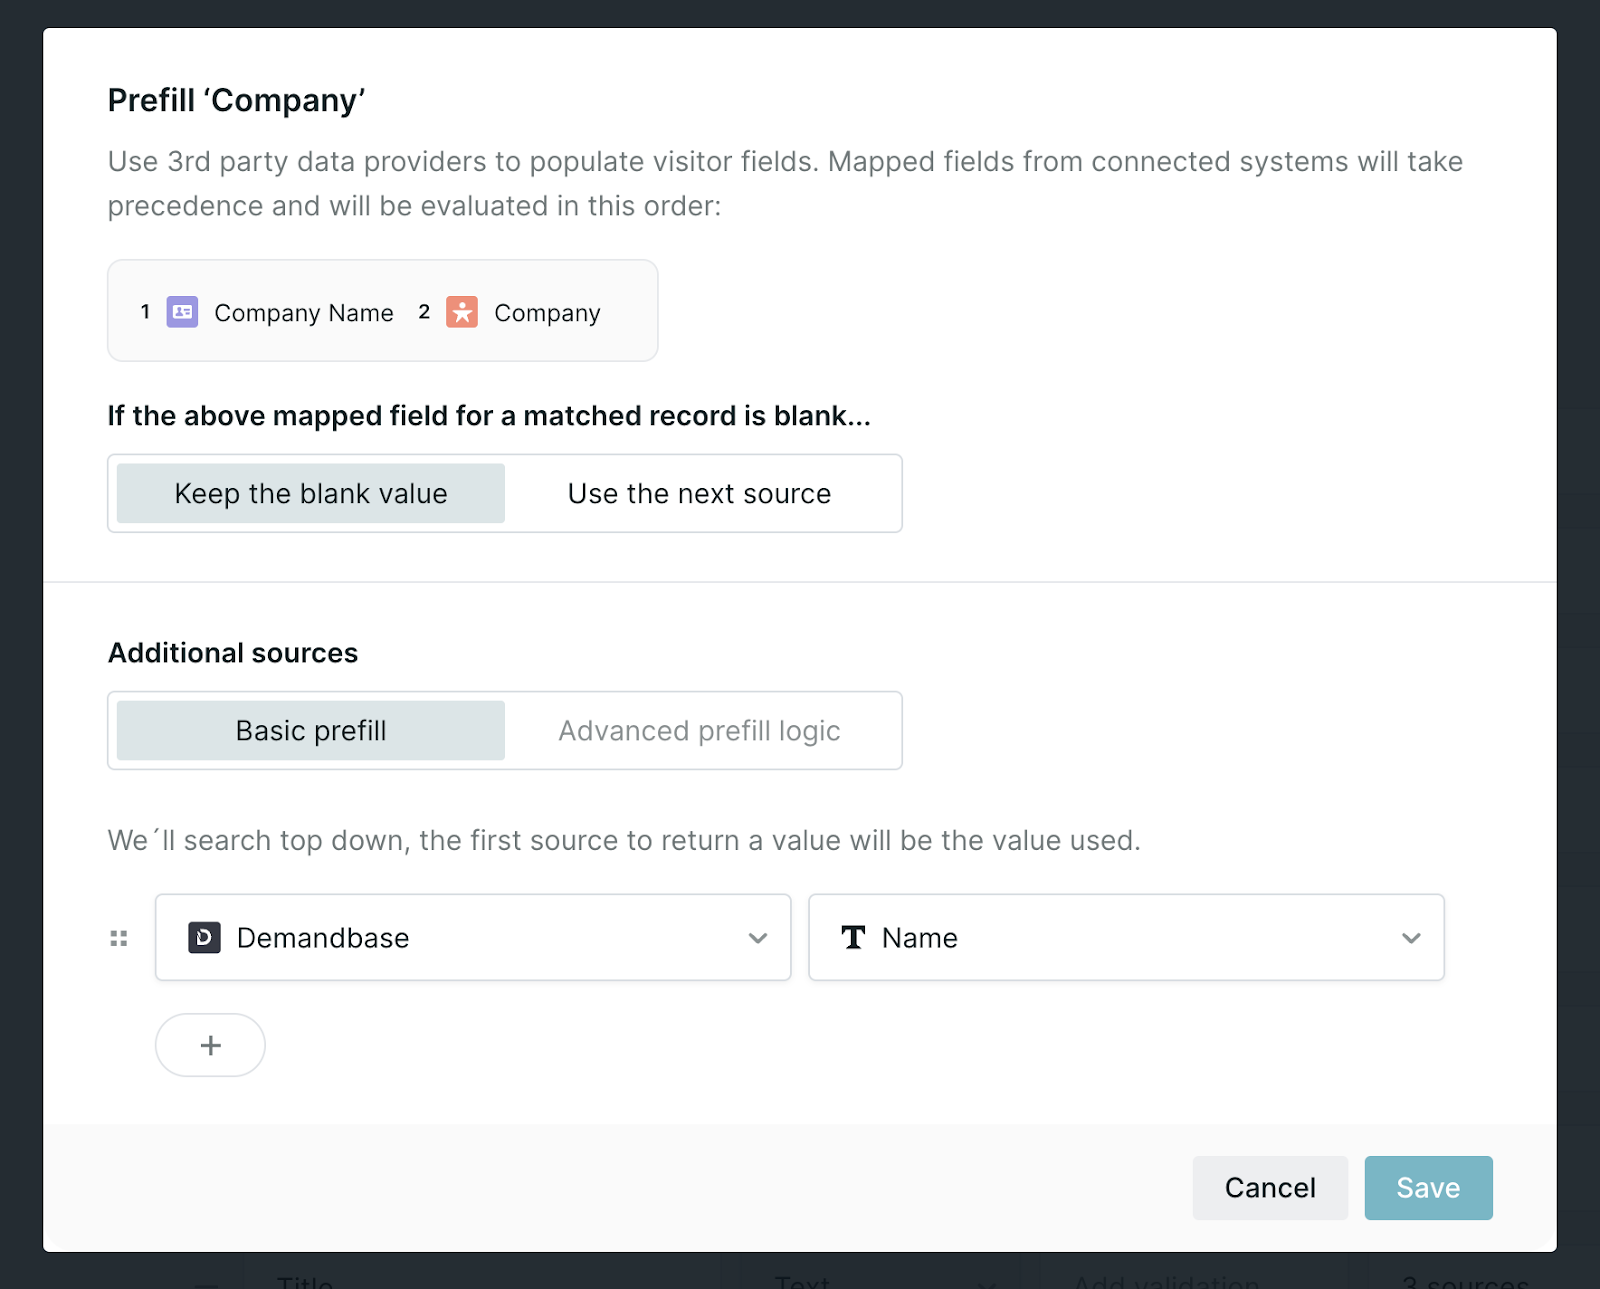
- Select the field you wish to prefill with the Demandbase data or create a new one.
- Select Demandbase as your source.
- Select the data from Demandbase, such as the company “Name” shown below, that you'd like to store in your visitor field.
Heading 1
Heading 2
Heading 3
Heading 4
Heading 5
Heading 6
Lorem ipsum dolor sit amet, consectetur adipiscing elit, sed do eiusmod tempor incididunt ut labore et dolore magna aliqua. Ut enim ad minim veniam, quis nostrud exercitation ullamco laboris nisi ut aliquip ex ea commodo consequat. Duis aute irure dolor in reprehenderit in voluptate velit esse cillum dolore eu fugiat nulla pariatur.
Lorem ipsum dolor sit amet, consectetur adipiscing elit, sed do eiusmod tempor incididunt ut labore et dolore magna aliqua. Ut enim ad minim veniam, quis nostrud exercitation ullamco laboris nisi ut aliquip ex ea commodo consequat. Duis aute irure dolor in reprehenderit in voluptate velit esse cillum dolore eu fugiat nulla pariatur.
Lorem ipsum dolor sit amet, consectetur adipiscing elit, sed do eiusmod tempor incididunt ut labore et dolore magna aliqua. Ut enim ad minim veniam, quis nostrud exercitation ullamco laboris nisi ut aliquip ex ea commodo consequat. Duis aute irure dolor in reprehenderit in voluptate velit esse cillum dolore eu fugiat nulla pariatur.

Block quote
Ordered list
- Item 1
- asdfasdf
- asdfasdf
- asdfasdf
- Item 2
- Item 3
Unordered list
- Item A
- Item B
- Item C
Bold text
Emphasis
Superscript
Subscript
|
|---|
|


.svg)


