
Building Smart Button Experiences
Smart Button Experiences transform the static call to action buttons on your website into tailored buying journeys, providing your customers with a personalized, seamless experience.
- Why Choose the Smart Button Experience?
- Creating New Button Experiences
- Button Experience Builder Actions
- Using the Smart Selector
<span id="why-smart-buttons"></span>
Why Choose the Smart Button Experience?
- Optimized Experiences: Deliver faster and more efficient interactions. Leveraging advanced features, you can capture essential information from visitors, enabling you to tailor your responses and meet their specific needs.
- Qualification Questions & Robust Routing: Determine the most appropriate path for each visitor. Whether it's based on their identity or utilizing a criteria in a qualification question, you can ensure that visitors are connected with the right sales representative.
- Fallback Options: If a visitor doesn't meet the predefined conditions, the button will default to its original behavior, maintaining a smooth user journey and preventing any disruptions in their engagement.
- Smart Selector: Creating dynamic button experiences doesn't require extensive coding knowledge. Our point-and-click smart website builder empowers you to craft compelling experiences without the need for a dedicated web developer.
- Enhanced Error Handling: The smart button experience incorporates robust error handling mechanisms to ensure smooth functionality. In the event that a button is already selected or if any changes occur on the website, the system adapts seamlessly, minimizing any potential friction and providing a seamless user experience.
<span id="new-button-experiences"></span>
Creating New Button Experiences
Before you build a new button experience, ensure that the Qualified Javascript has been added to your website.
To create a new Button Experience as a Qualified Admin:
- Go to Settings → Experiences → Buttons.
NOTE: If you don't have Button Experiences in Settings, reach out to your Qualified Success Architect for more information. - Click the + Create button experience button at the top.
- Add a descriptive name in the Name this experience… field.
- Click the Save Experience button in the top right corner.
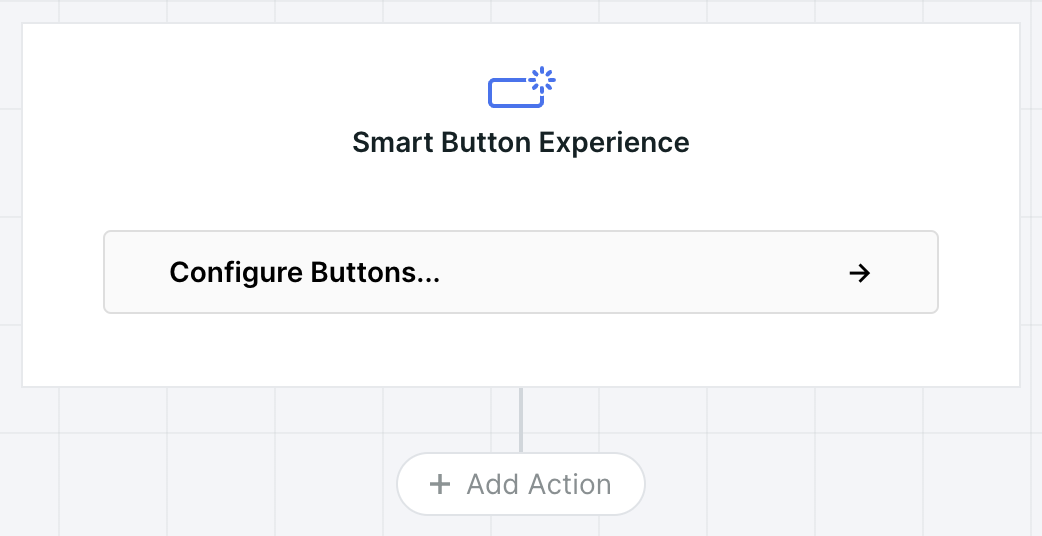
- Click the Configure Buttons… node at the top of the experience to open the Smart Selector to select the button(s) that will trigger the experience. Learn more about using the smart selector here.
- Build your Button Experience - after the visitor clicks a smart button, the experience will flow through the actions defined within that experience. Button experiences can branch to qualify specific users with Qualification Questions, offer meeting times, push to connected systems, and much more.
<span id="button-builder-actions"></span>
Button Experience Builder Actions
Start Visitor Engagement
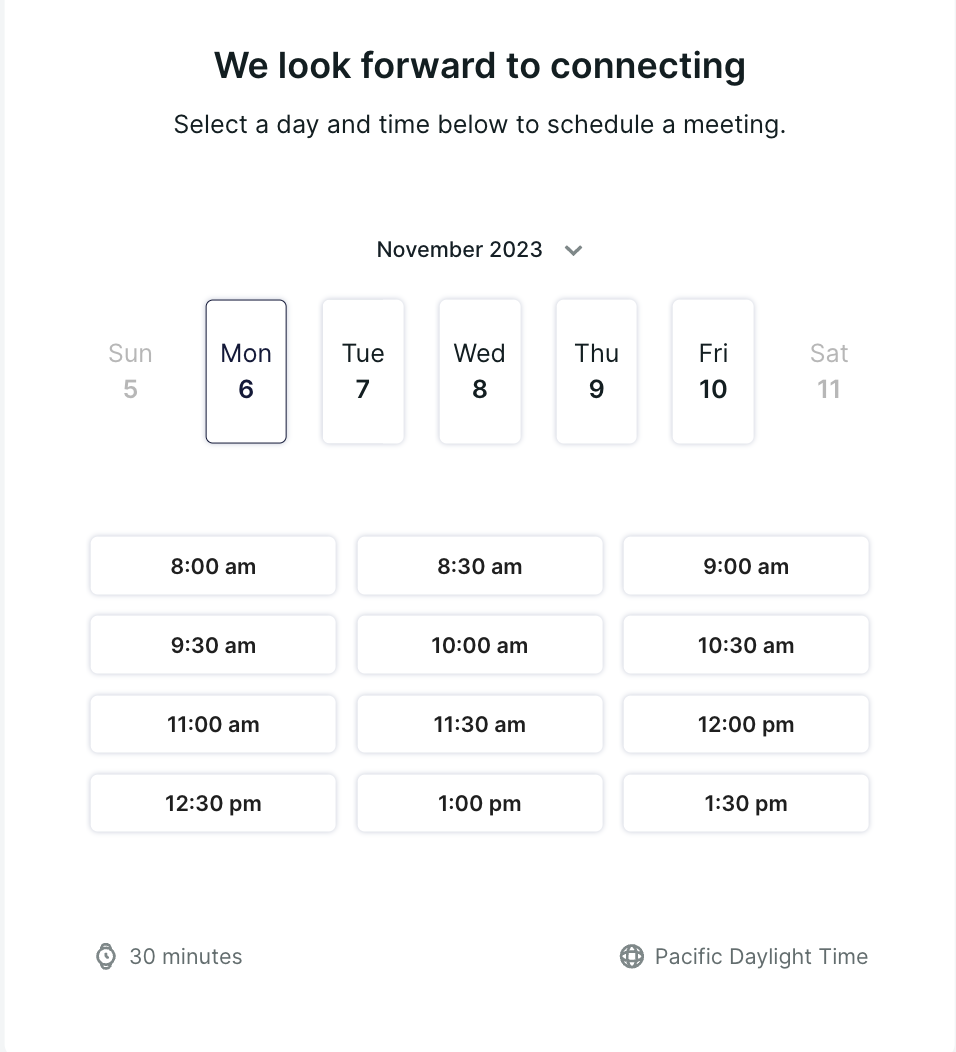
Offer a Meeting
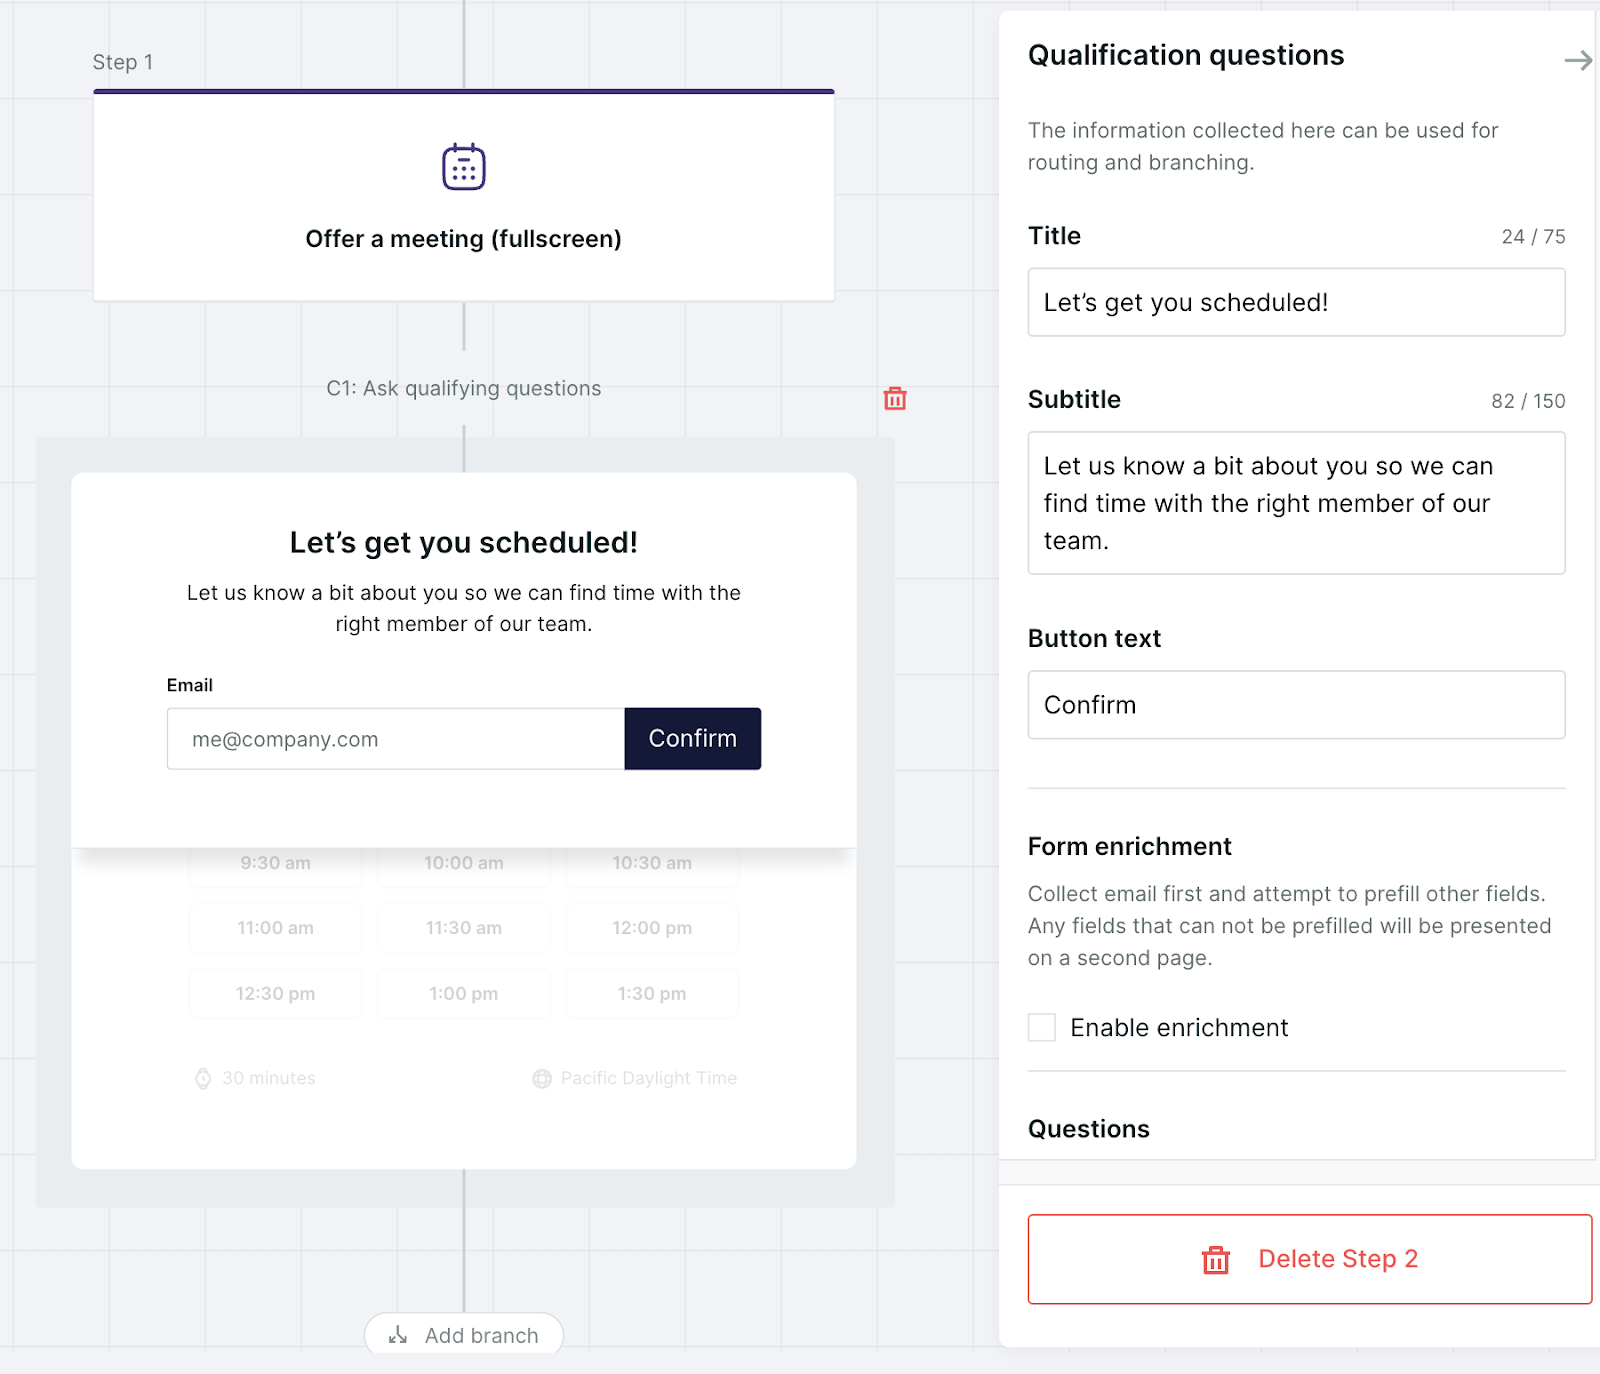
Prompt visitors to schedule a full-screen meeting directly on your site after selecting a button. You have the flexibility to collect their email and route the meeting request to a specific representative based on their identity. Alternatively, you can utilize general routing rules to ensure efficient scheduling.
To skip asking for email and rely on general routing rules, delete the entire step (in this case C1). When the email is skipped, Qualified will immediately offer calendar times, and ask the visitor to provide or confirm their email after selecting a time. This is the recommended option to optimize the number of meetings offered if routing is not determined by email or additional data collected in the lightbox.
Qualification Questions
Button experiences allow you to take your prospect directly to a meeting booking experience - skipping the traditional marketing form when the intention of the website call to action is to book a meeting.
At times, additional information is required to qualify a prospect. Adding Qualification Questions to a Smart Button experience allows you to obtain information needed to qualify and route them appropriately.
Qualification questions can be marked optional - this will not require visitors to answer these questions in order to book a meeting.
Admins have the ability to configure qualification questions two ways:
- Qualification questions asked with email
- Qualification questions asked after email, allowing for enrichment
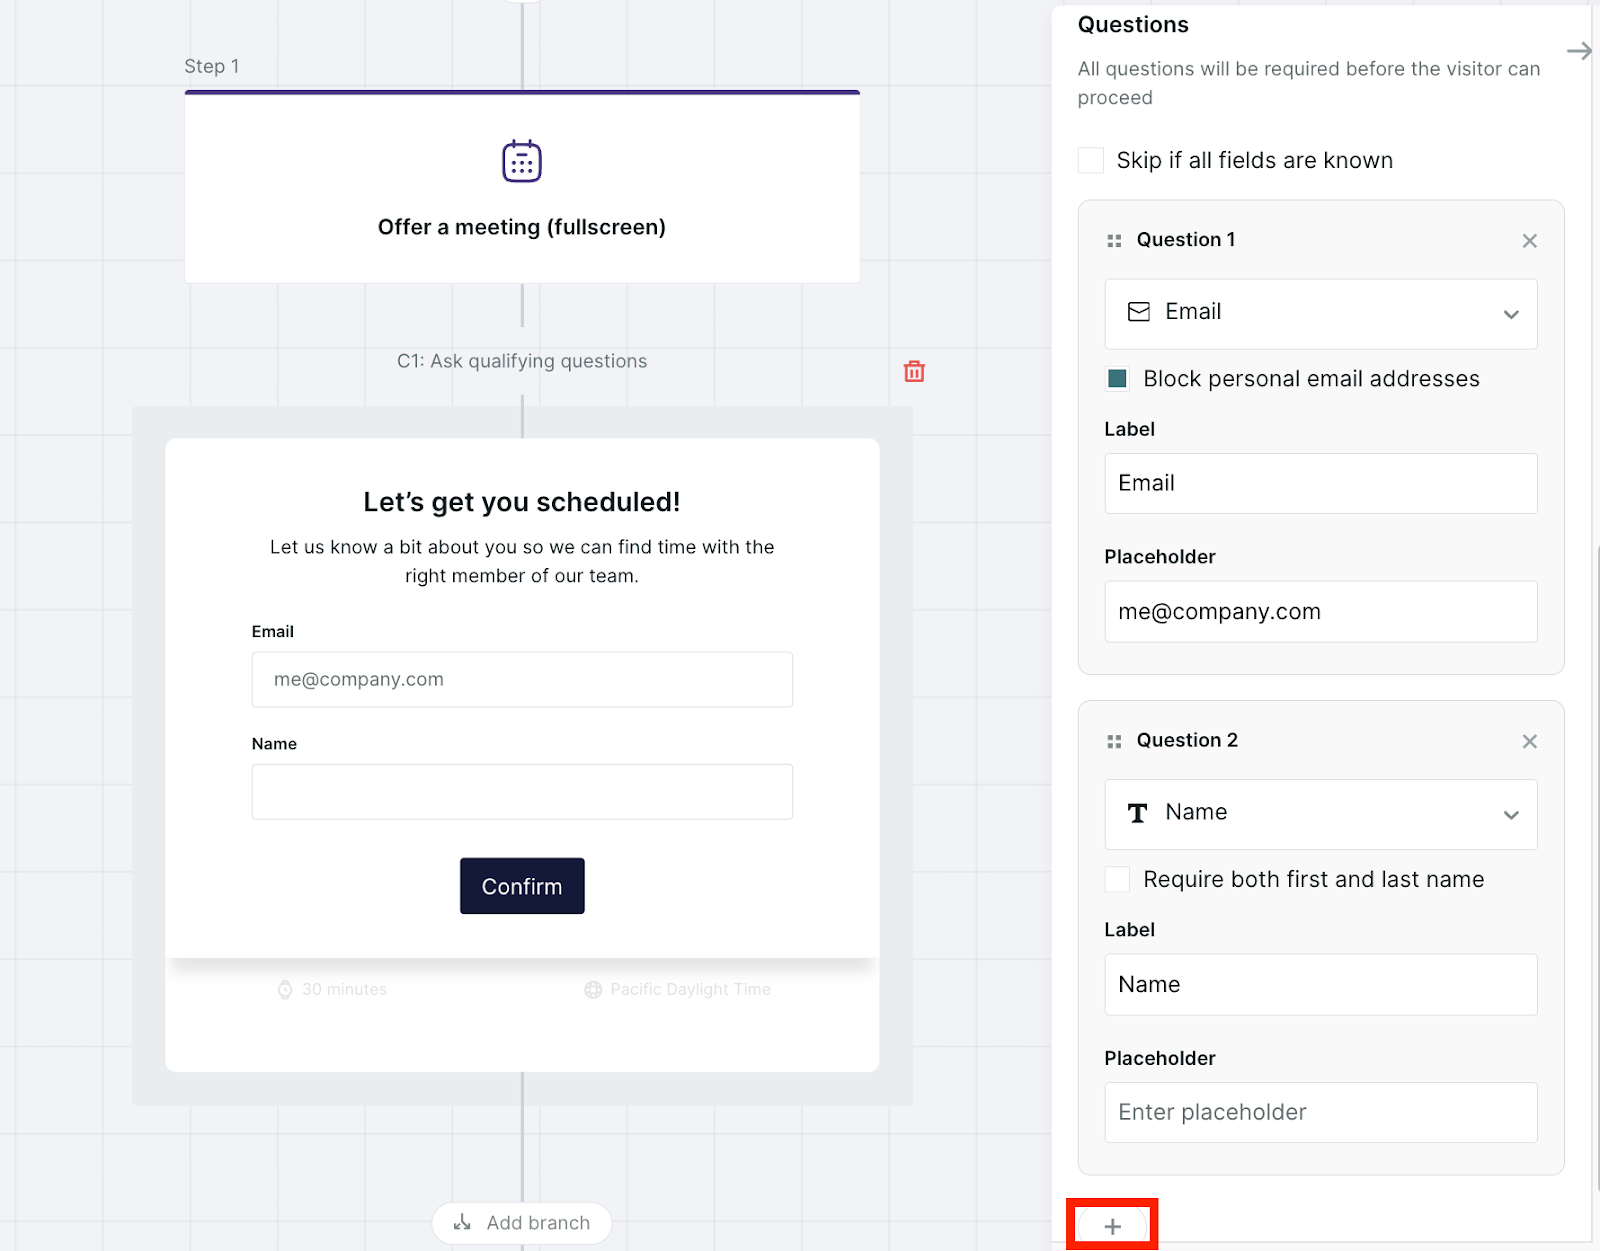
Ask questions with Email
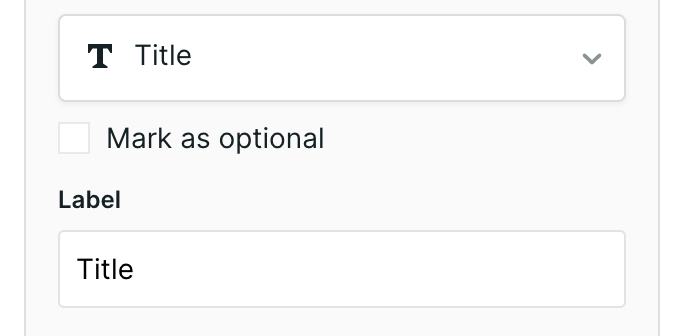
Add additional questions to the meeting light box if values that cannot be enriched are required for routing. It is recommended to ask a as few questions as possible. To add additional questions, click the “+” and select your existing visitor field(s) or create a new custom picklist value.
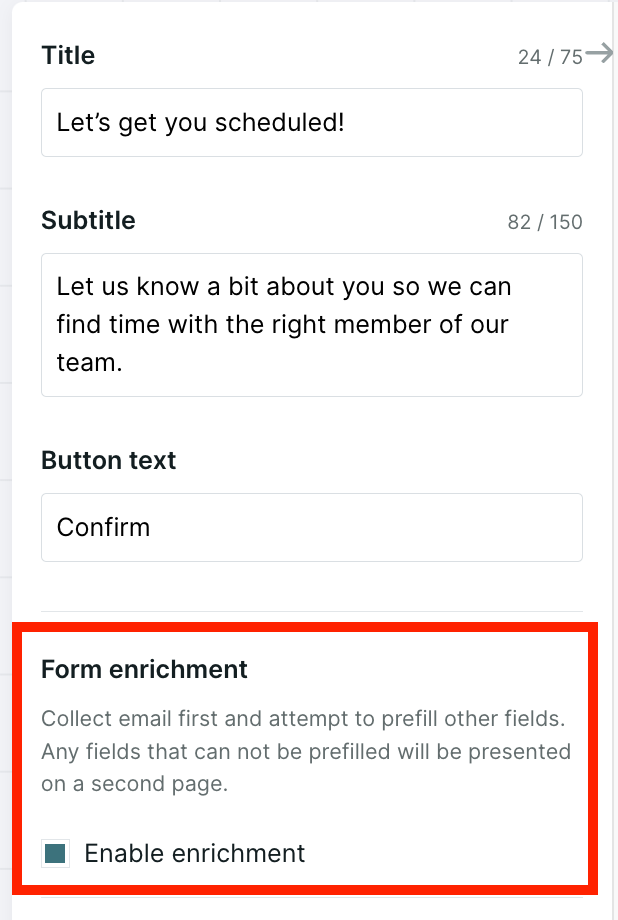
Ask questions after Enrichment
Collecting the email first and selecting “Enable enrichment” will run enrichment on the visitor, letting Qualified provide the data from the attached sources to reduce the number of questions asked of visitors. After pre-filling the values, additional qualification questions will only be asked if enrichment was not able to fill in those values.
Form "Enrichment" refers to any source value within the visitor field (ie. if a matched Salesforce Lead has a value in the "company" field, that will be returned as a prefilled field.) "Enrichment" does not mean exclusively Clearbit Enrichment in this case.
Questions on the follow-up lightbox that are not able to be enriched will still be displayed to the visitor.

Qualify or Disqualify your Visitor
Once data is collected, whether it was provided by the visitor or enriched by visitor field sources, admins can configure a branch to qualify or disqualify the visitor.
For qualified visitors, offer a meeting booker on the spot! Admins can customize the type of meeting offered based on visitor details, including duration, routing, confirmation email, and more. Check out additional meeting type settings here.
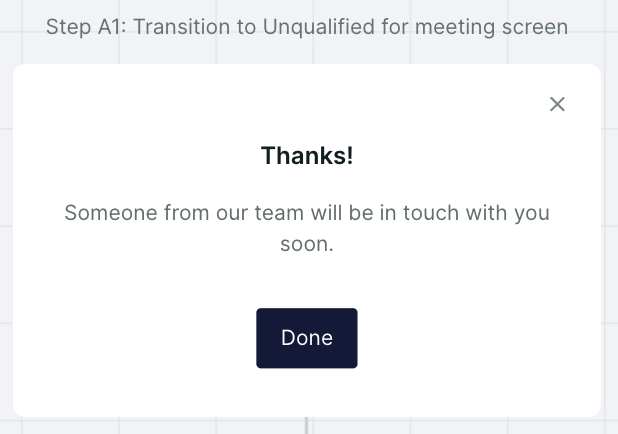
For disqualified visitors, a disqualification message is displayed. The message is customizable.
Start a Conversation
In addition to offering a meeting, buttons have the ability to route for a conversation in real time. Empower your sales representatives to initiate a conversation within the smart button experience, particularly when interacting with VIP visitors. By selecting the "Start a Conversation" option, you can leverage the available experience step options to create a personalized touch, fostering stronger connections and building trust.
General
Branch
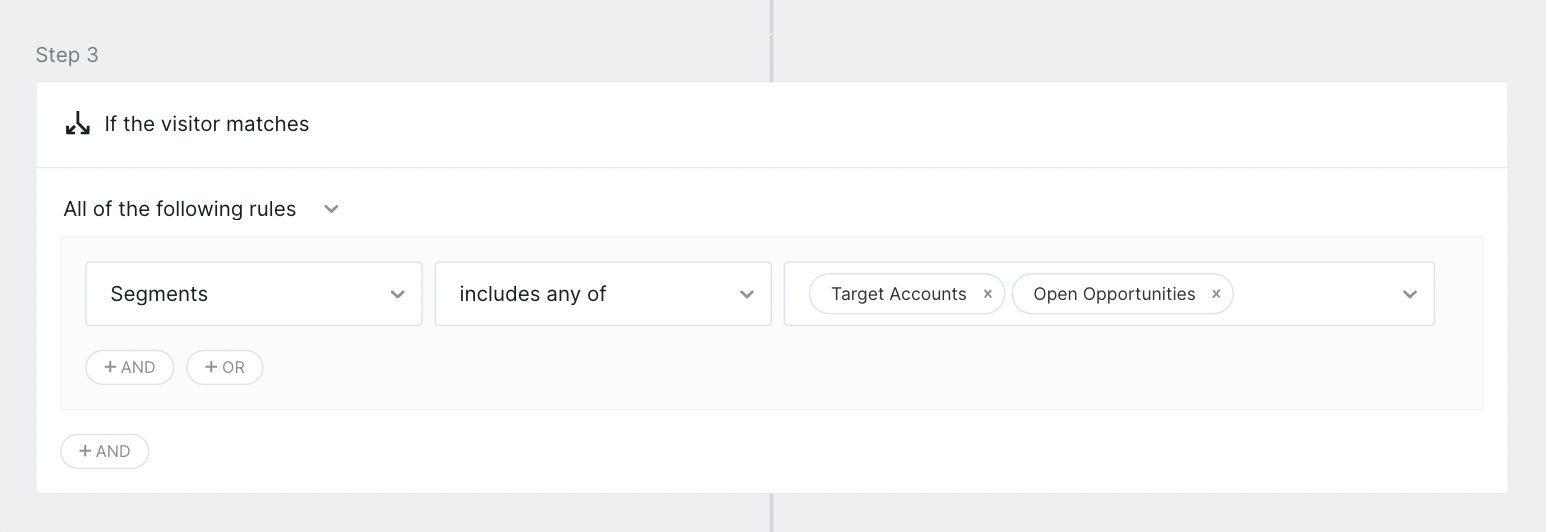
Leverage the branch step to create logical pathways based on visitor information. Guide them through different branches of the experience, such as booking a meeting or initiating a live chat, to ensure their journey aligns with their specific needs and interests.
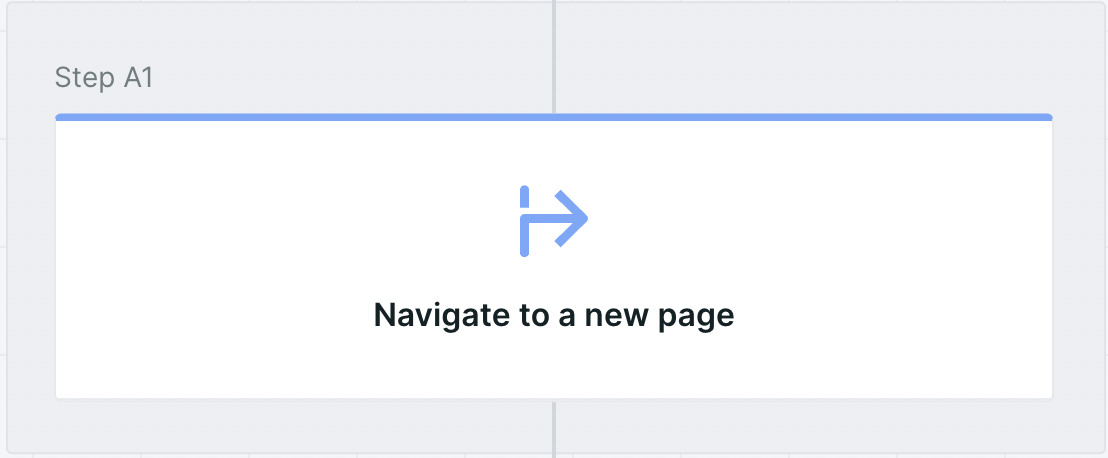
Navigate
Utilize the navigate step to seamlessly direct users to another page within your website. This feature enables you to provide additional information or guide them to relevant resources, enhancing their understanding of your offerings and reinforcing their engagement.
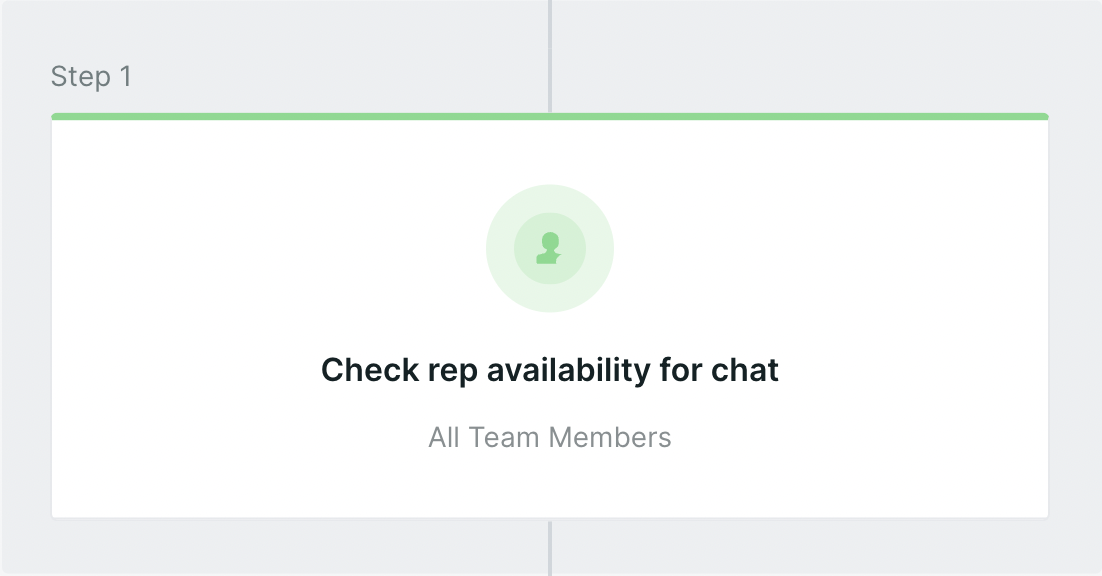
Rep Availability
Maximize the opportunity to engage with VIP buyers by utilizing the rep availability step. By checking if a representative is available for a chat, you can ensure that valuable leads are promptly connected with a sales professional, maximizing the potential for conversions and nurturing strong customer relationships.
<span id="smart-selector"></span>
Using the Smart Selector
The Smart Selector is the command center for your Smart Website. Visualize your website interface in real-time, then use point-and-click tools to design bespoke website experiences for each unique visitor. No code required!
Button Selection
Admins can select buttons and links they wish to trigger an experience for, now with a simple click.
1. To launch the Smart Selector, create a new button experience and select Configure Buttons.
2. To select a button, make sure you’re in Select mode selecting a Button or Link.
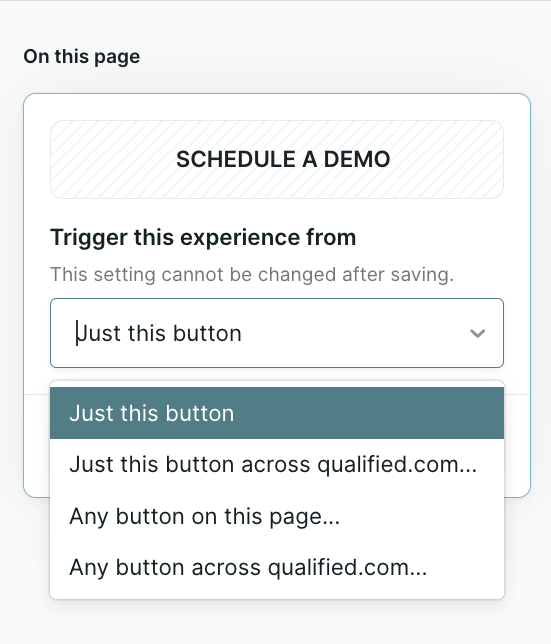
3. Once you select a button, you’ll see the following options appear to trigger the experience from:
- Just the button
- Just the button across {your website domain}...
- Any button on this page…
- Any button across {your website domain}...
4. Switch to the Navigate mode to navigate to the desired page to select specific buttons. From there, switch back to Select mode to select additional buttons.
5. Once your buttons have been selected, create an experience customized to your potential buyers! Button said “Schedule a Demo”? Offer them a meeting right on the spot. Button said “Contact Us”? If a rep is available, connect them real time over chat.

Heading 1
Heading 2
Heading 3
Heading 4
Heading 5
Heading 6
Lorem ipsum dolor sit amet, consectetur adipiscing elit, sed do eiusmod tempor incididunt ut labore et dolore magna aliqua. Ut enim ad minim veniam, quis nostrud exercitation ullamco laboris nisi ut aliquip ex ea commodo consequat. Duis aute irure dolor in reprehenderit in voluptate velit esse cillum dolore eu fugiat nulla pariatur.
Lorem ipsum dolor sit amet, consectetur adipiscing elit, sed do eiusmod tempor incididunt ut labore et dolore magna aliqua. Ut enim ad minim veniam, quis nostrud exercitation ullamco laboris nisi ut aliquip ex ea commodo consequat. Duis aute irure dolor in reprehenderit in voluptate velit esse cillum dolore eu fugiat nulla pariatur.
Lorem ipsum dolor sit amet, consectetur adipiscing elit, sed do eiusmod tempor incididunt ut labore et dolore magna aliqua. Ut enim ad minim veniam, quis nostrud exercitation ullamco laboris nisi ut aliquip ex ea commodo consequat. Duis aute irure dolor in reprehenderit in voluptate velit esse cillum dolore eu fugiat nulla pariatur.

Block quote
Ordered list
- Item 1
- asdfasdf
- asdfasdf
- asdfasdf
- Item 2
- Item 3
Unordered list
- Item A
- Item B
- Item C
Bold text
Emphasis
Superscript
Subscript
|
|---|
|


.svg)


